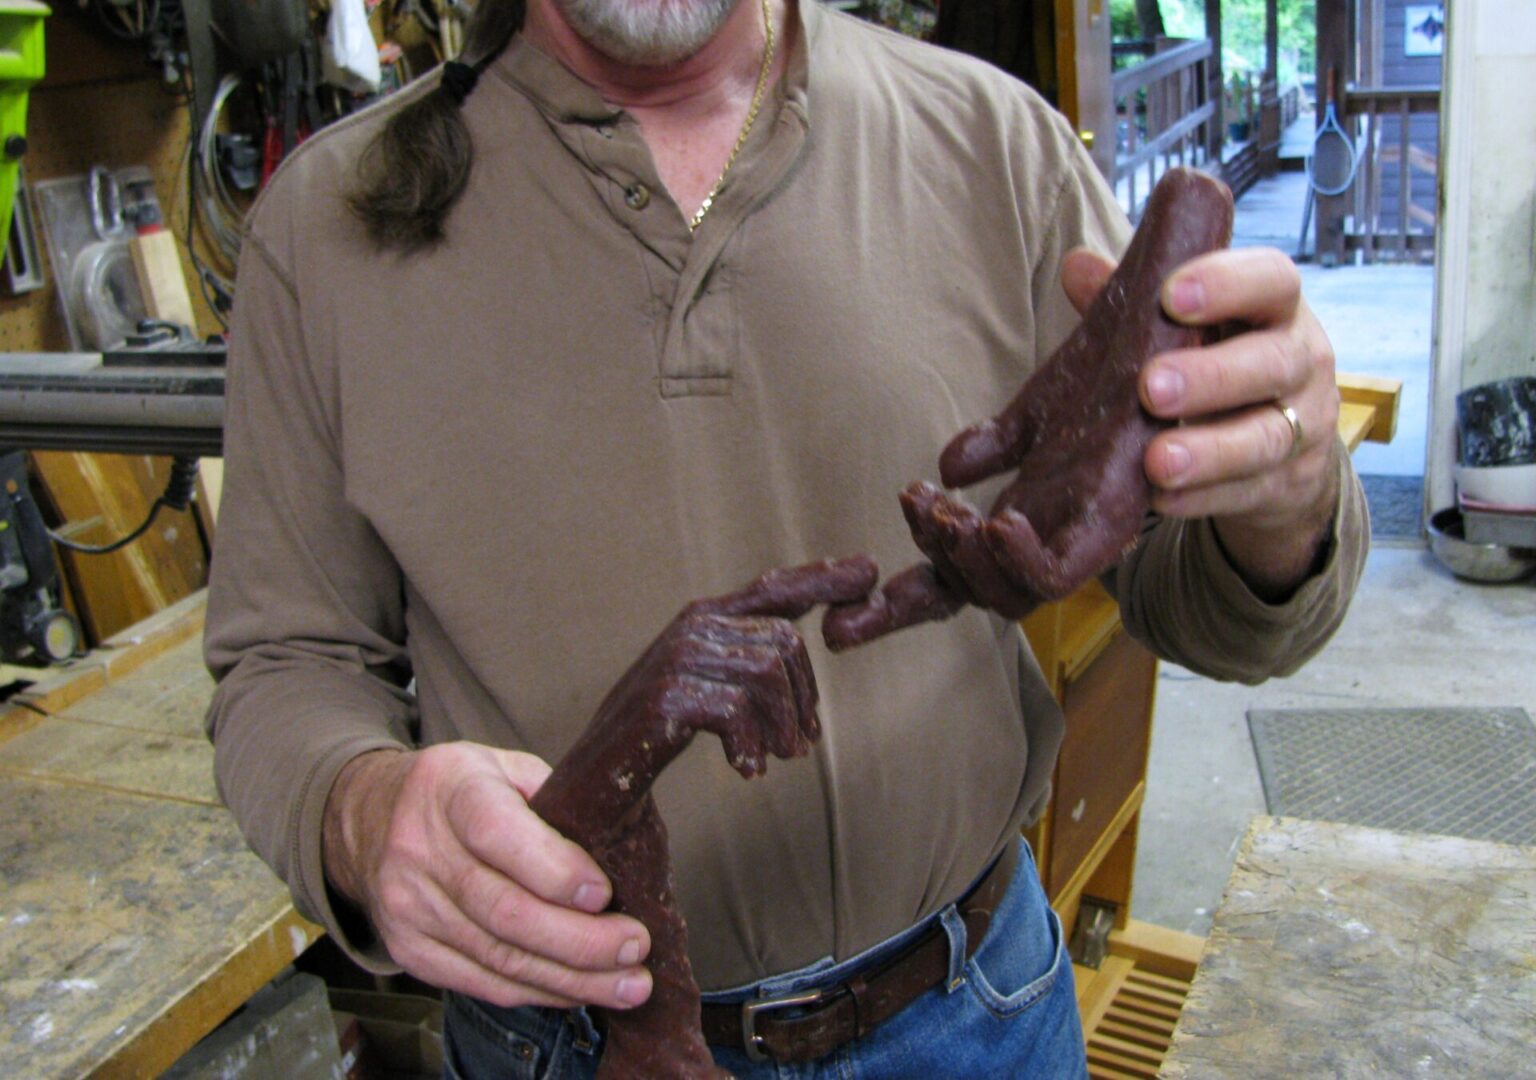
The First Step: Making a Mother Mold
There are many ways to create bronze artwork; these are photos of how I have done this in my home studio.
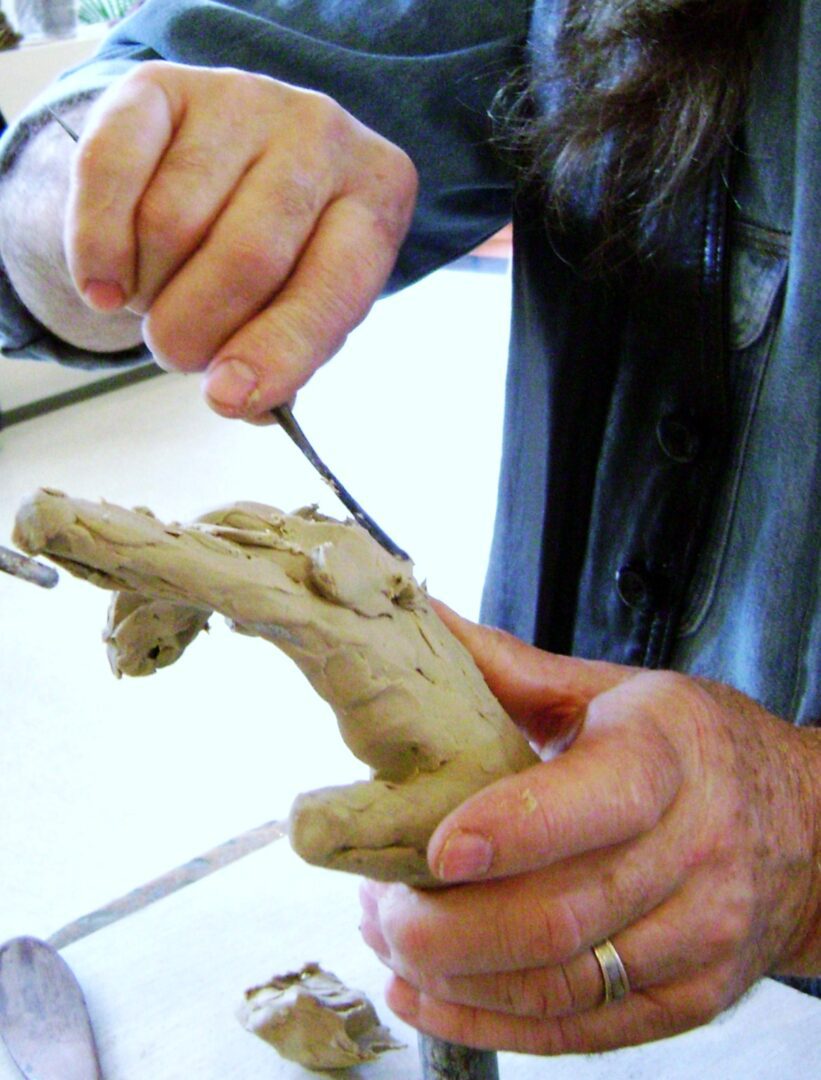
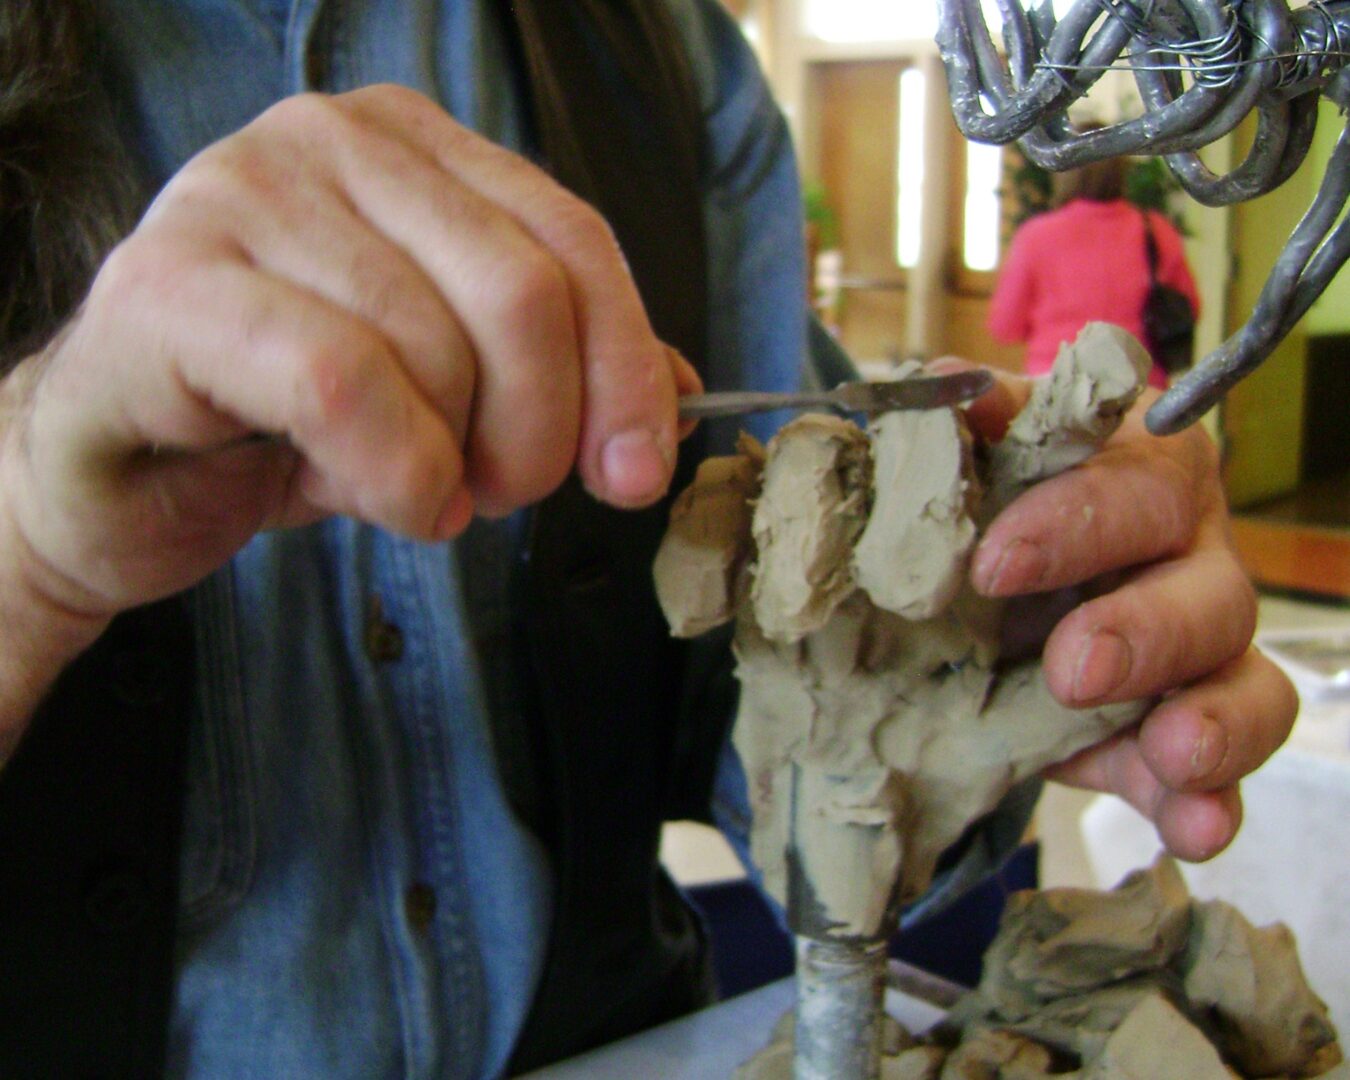
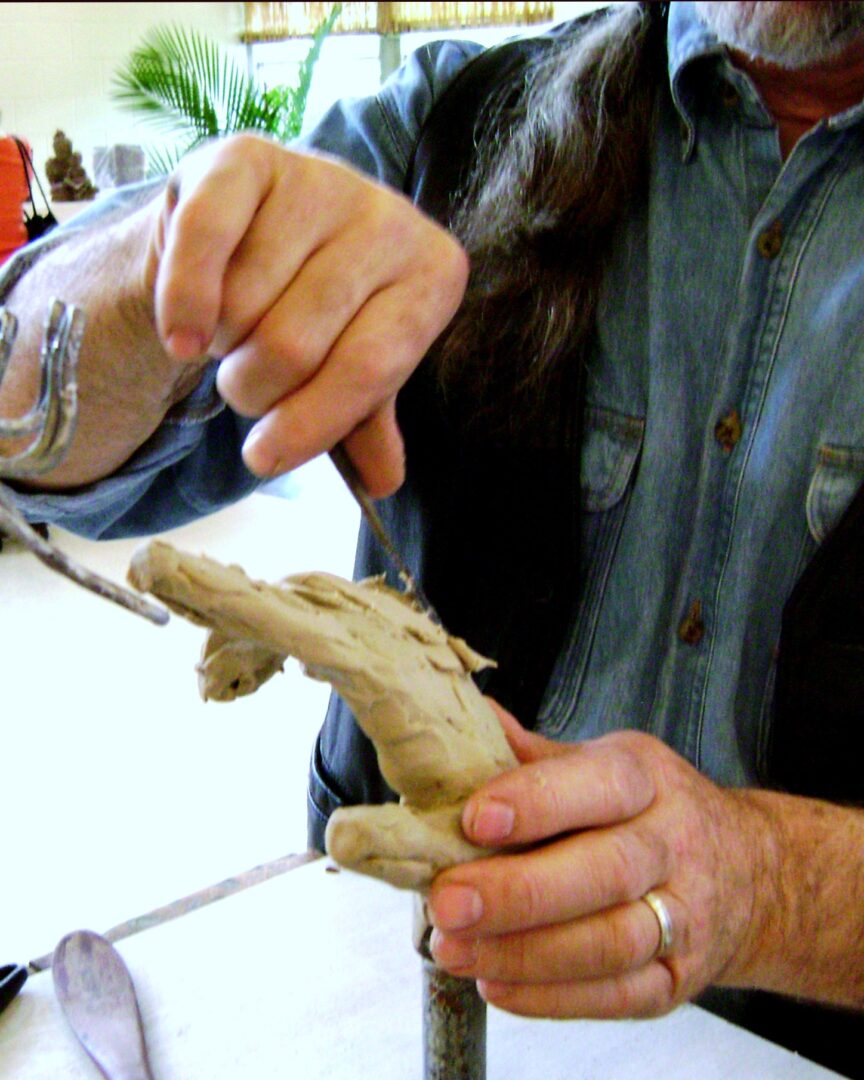
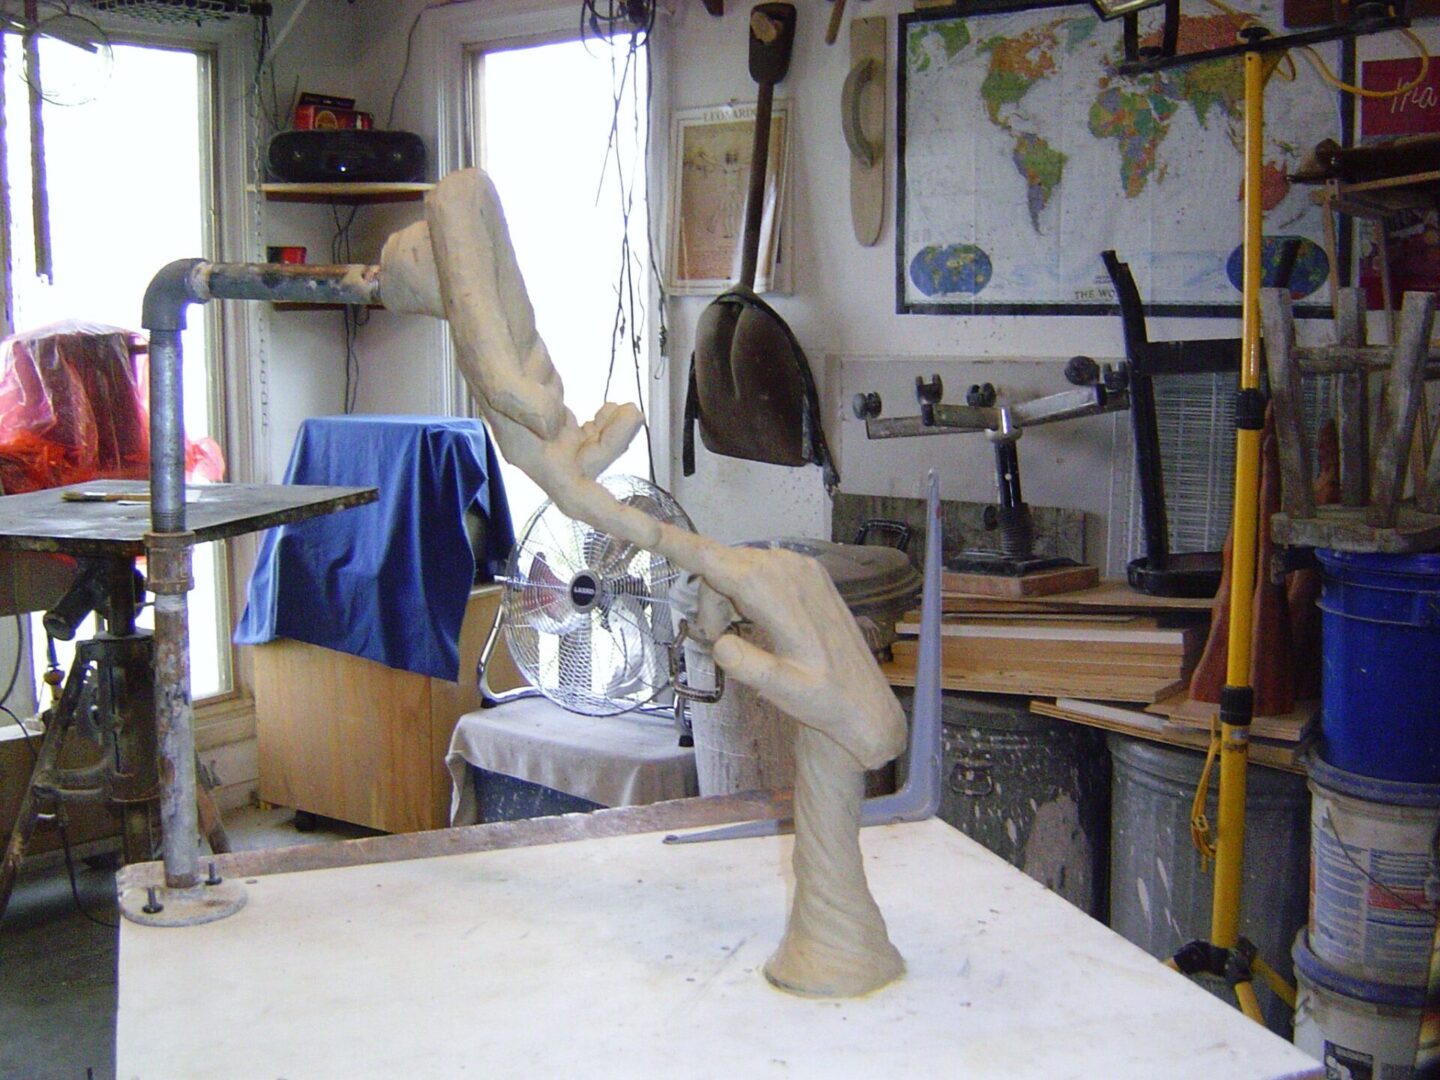
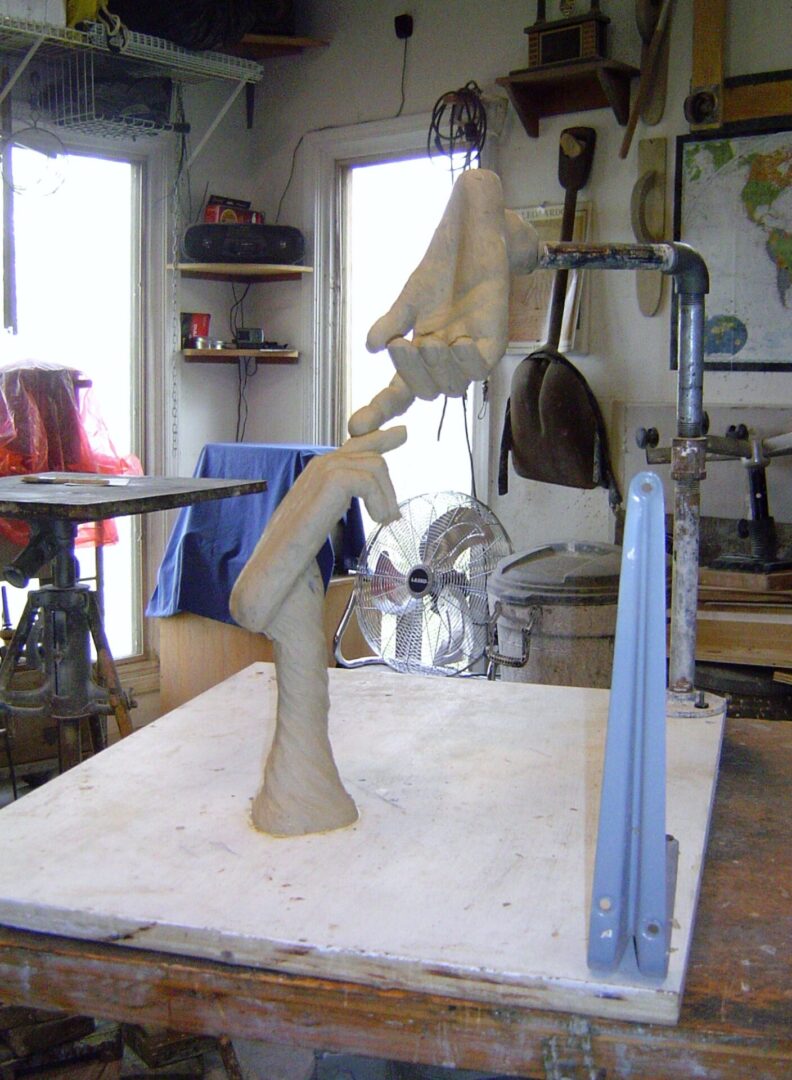
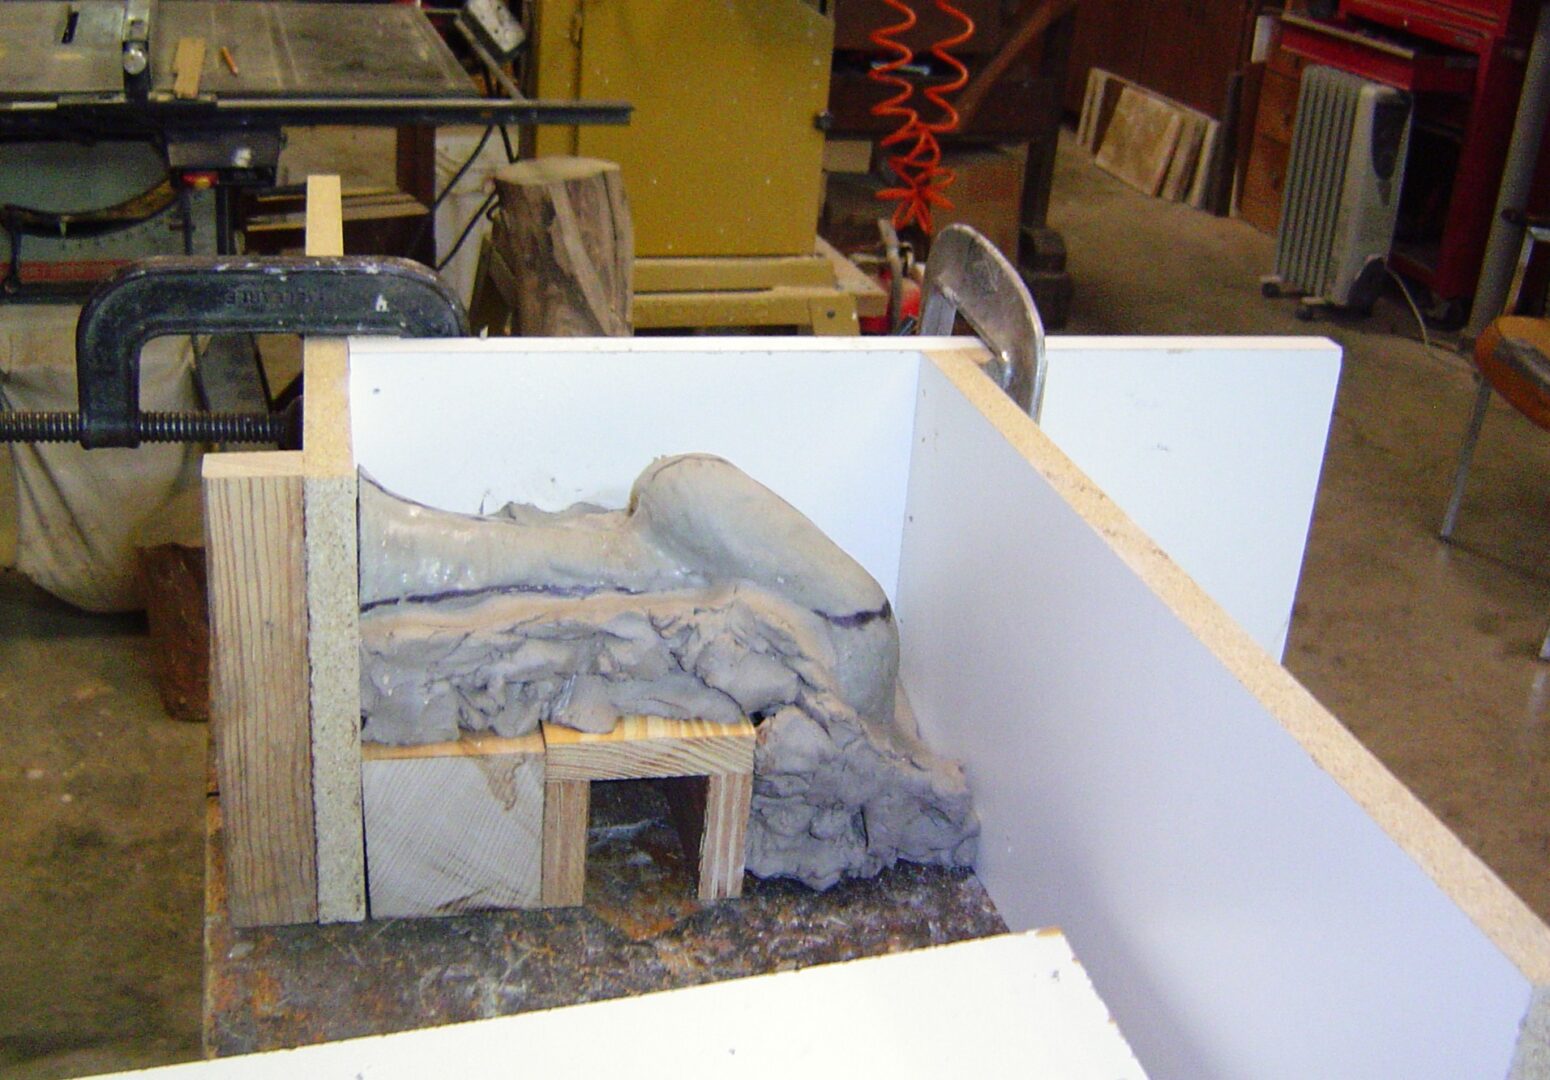
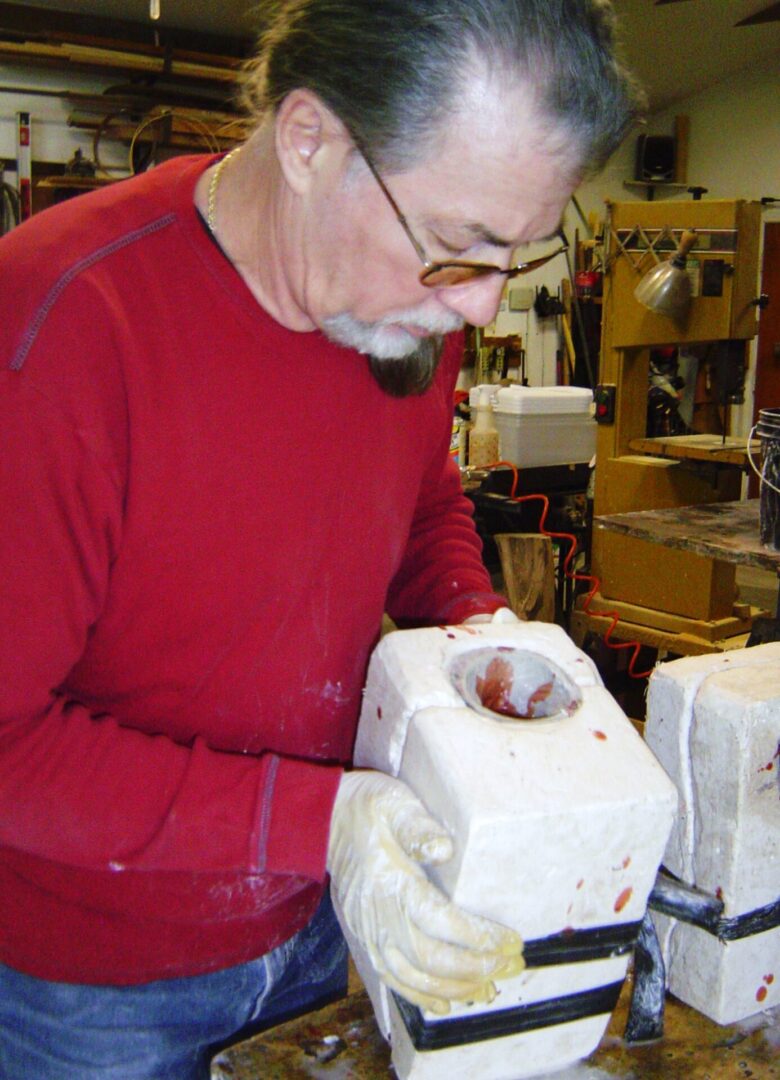
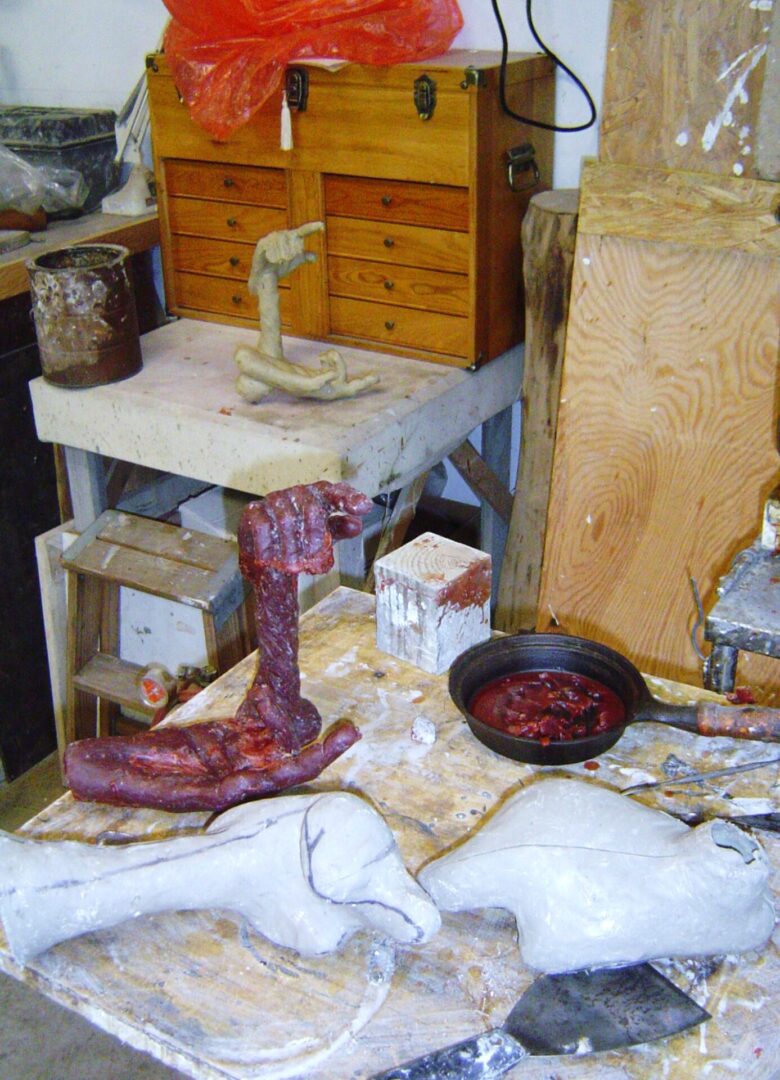
The first step in bronze casting is making a Mother Mold to create wax models of the clay model of the sculpture. As shown below, this mold is made around the clay model. The most simple molds for 3-dimensional sculptures are just two pieces.
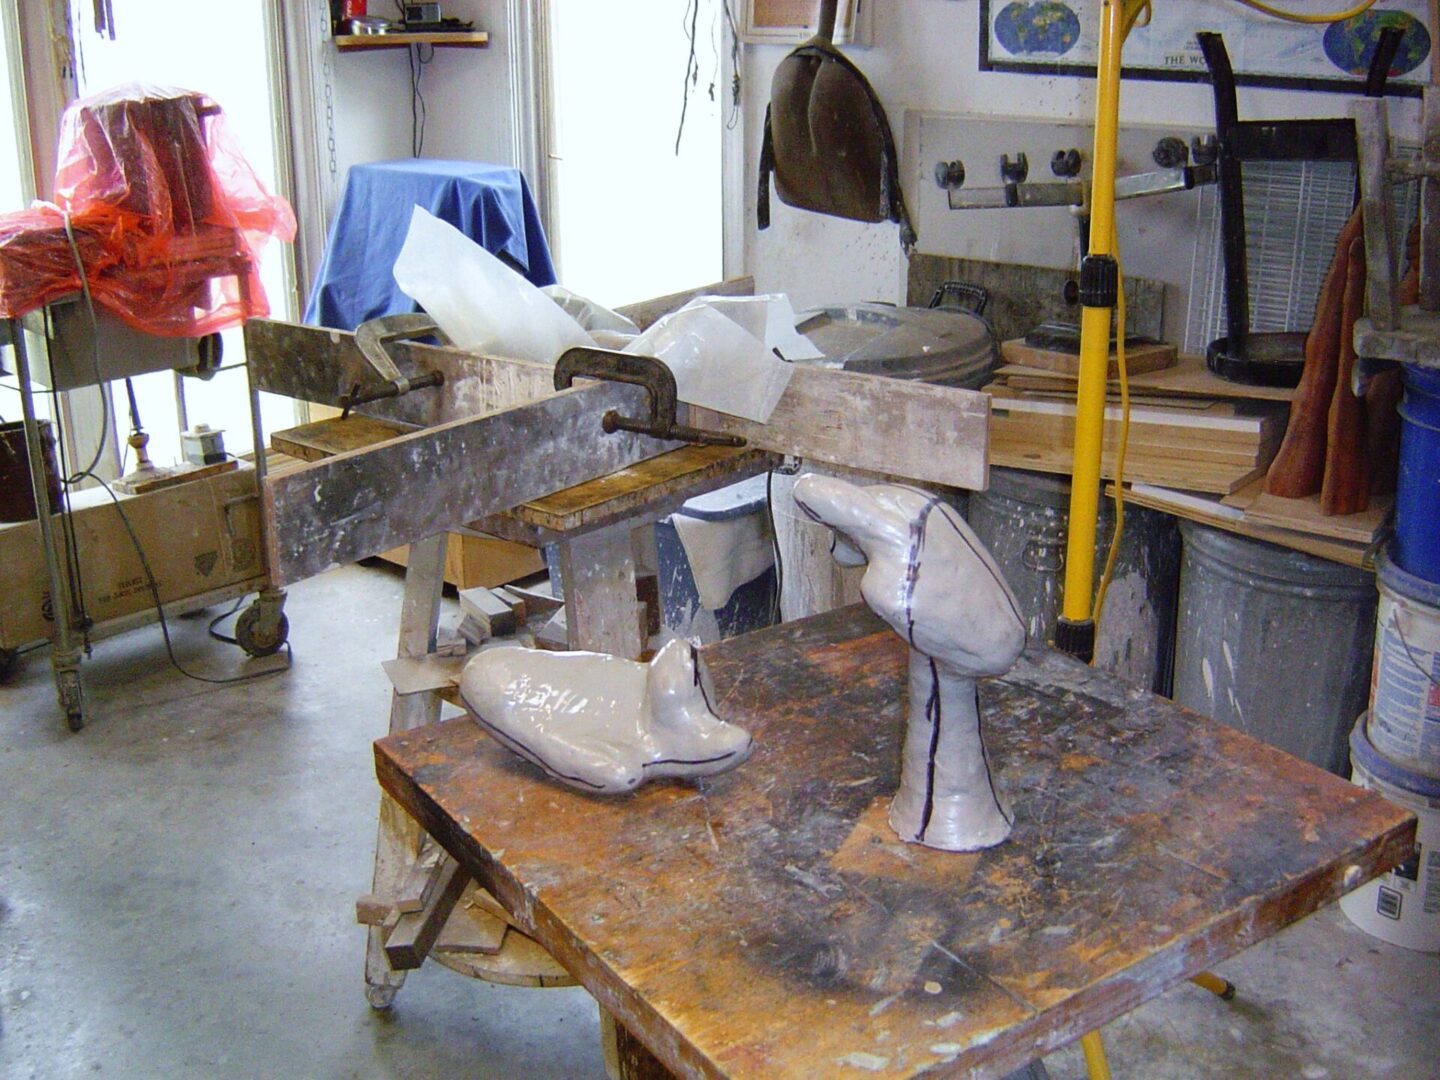
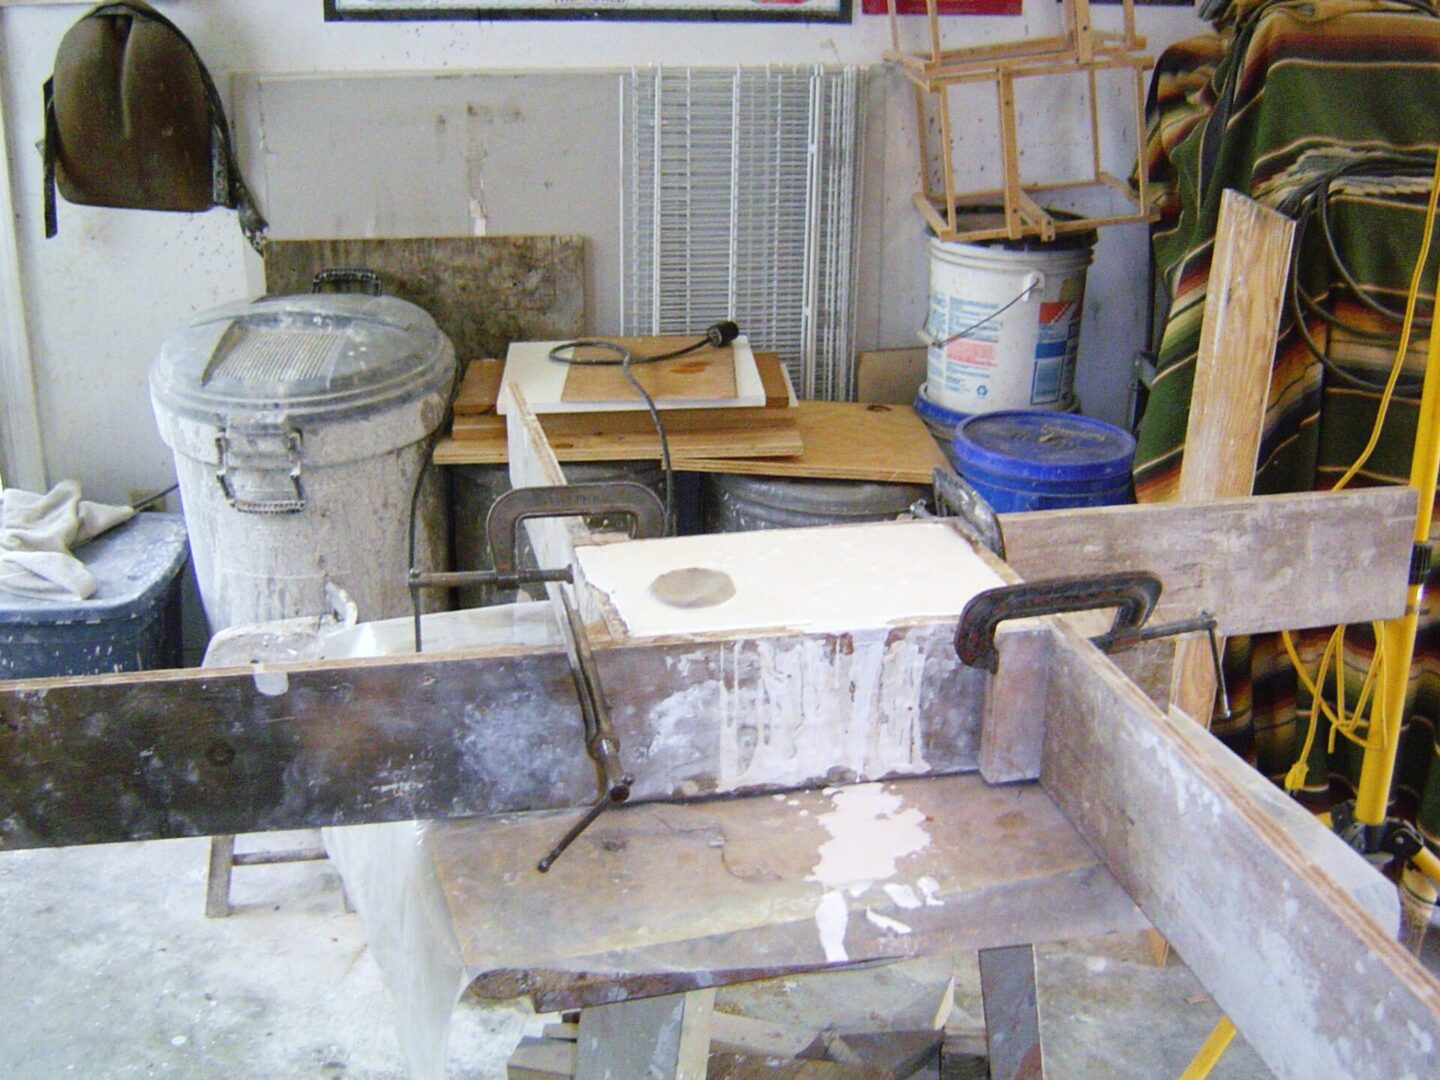
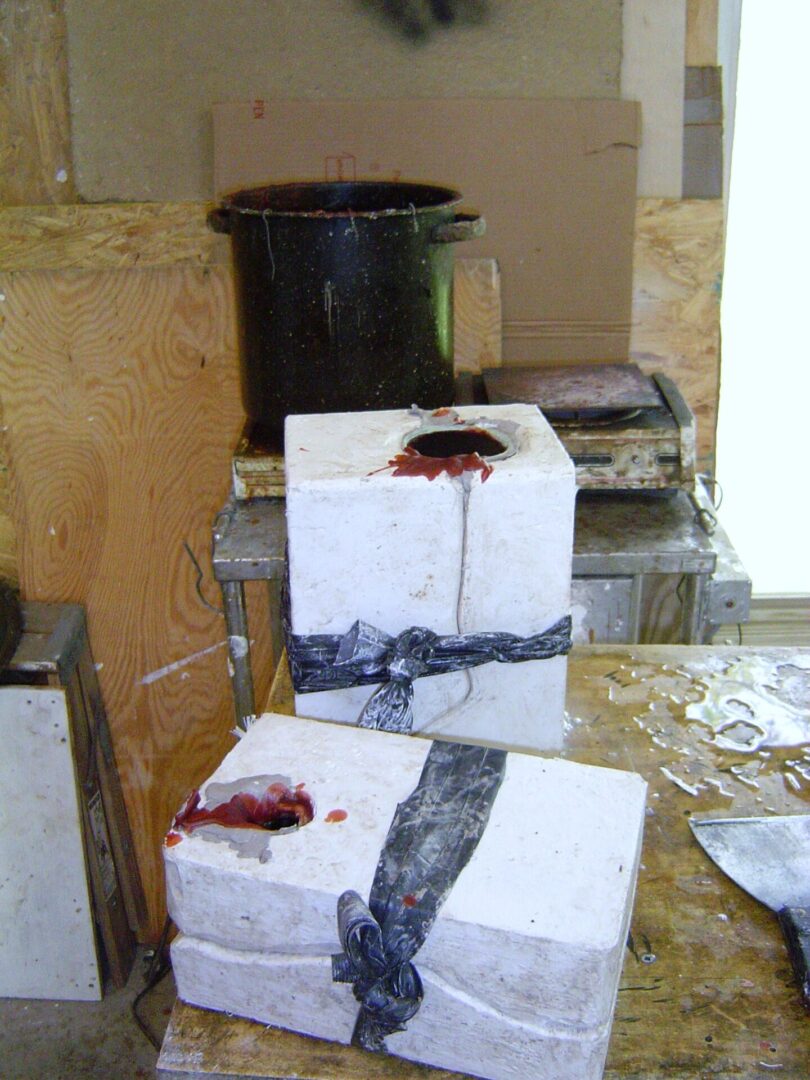
Next, a thick layer of silicone is spread over the clay model. When dry, it is marked for cutting to match the number of pieces of the Mother mold. The exterior of the mold is plaster and is poured in two steps around an adjustable, reusable frame. Once dry, the mold is held together with a strip of tubing from a bicycle tire.
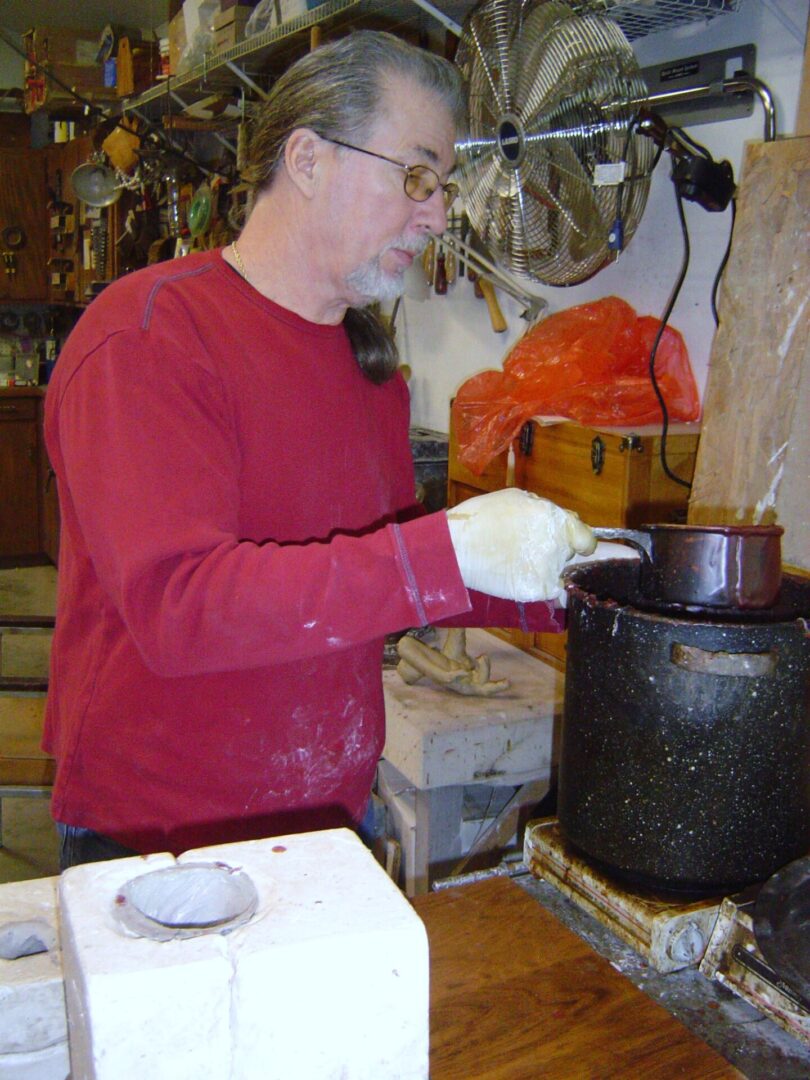
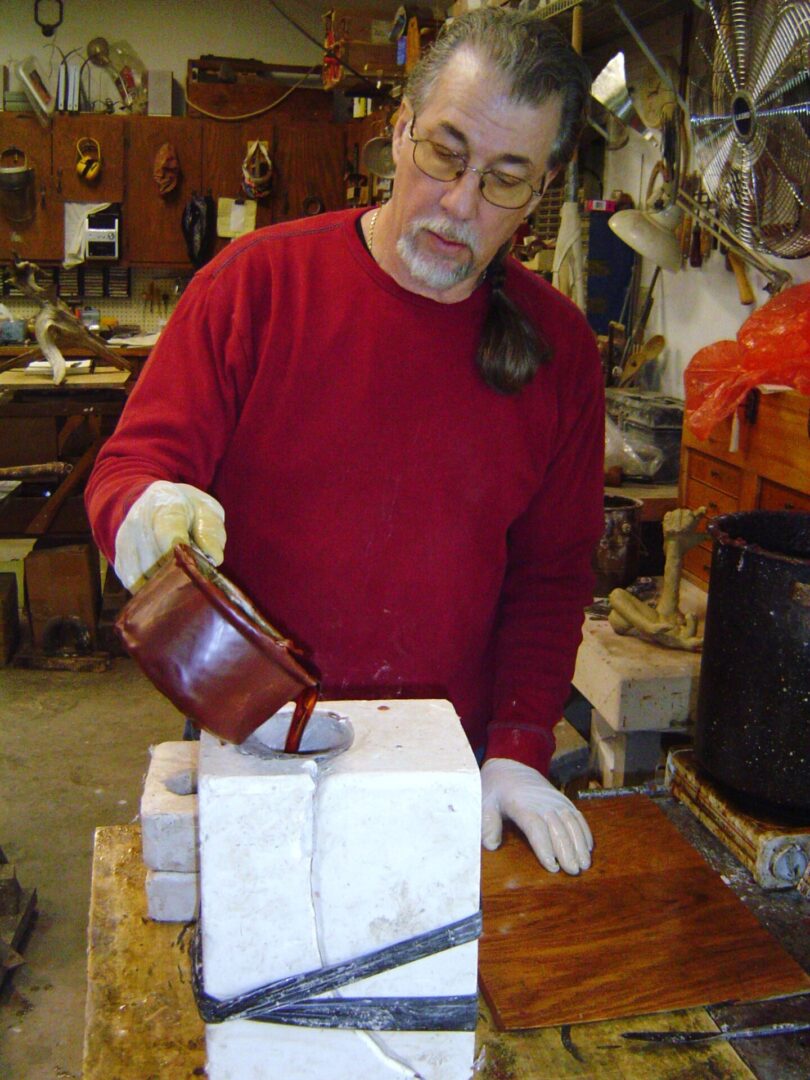
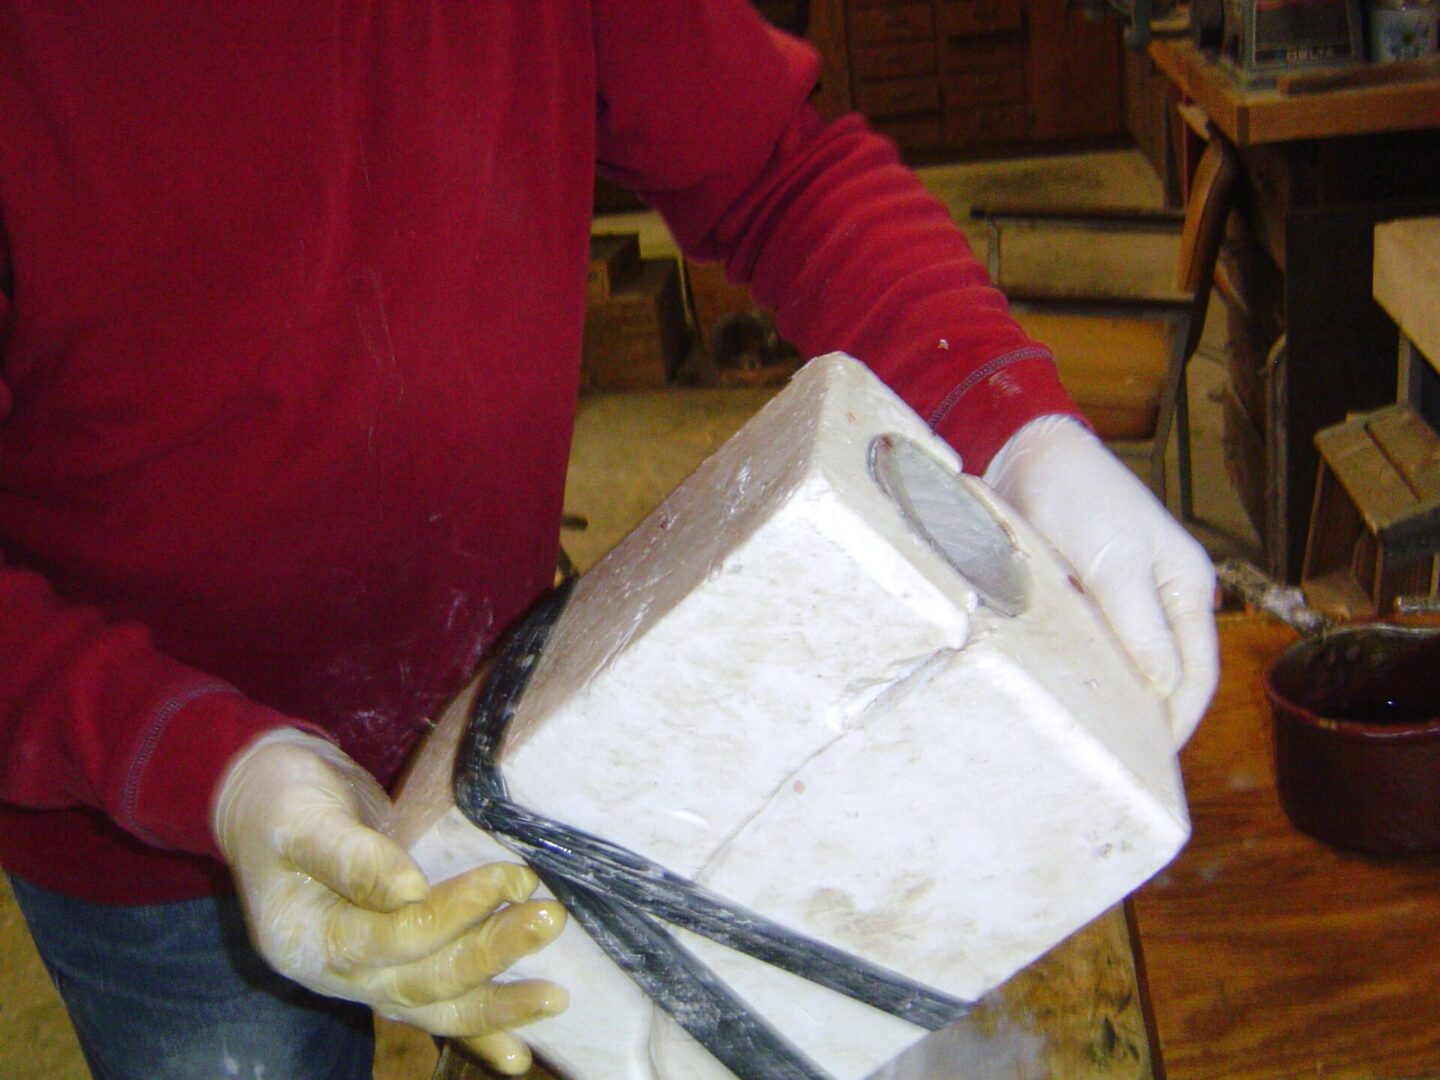
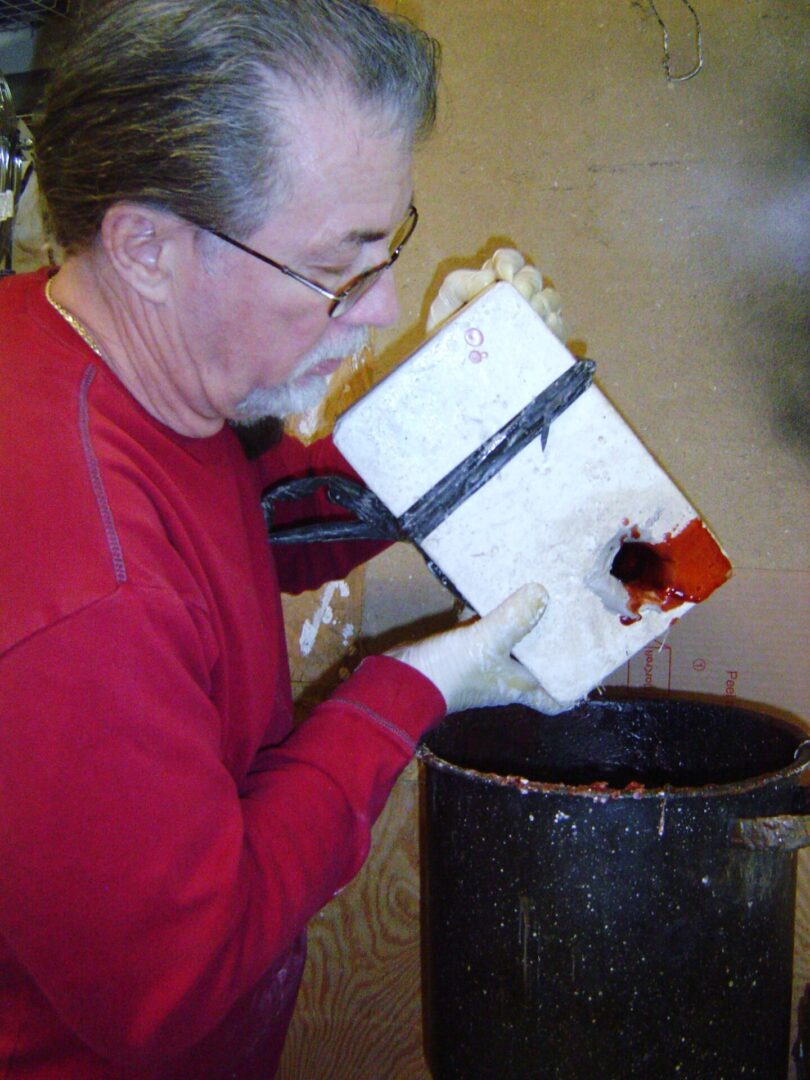
Hot wax is poured into the Mother mold while rotating to create a 1/2-inch layer on the interior surface of the mold.
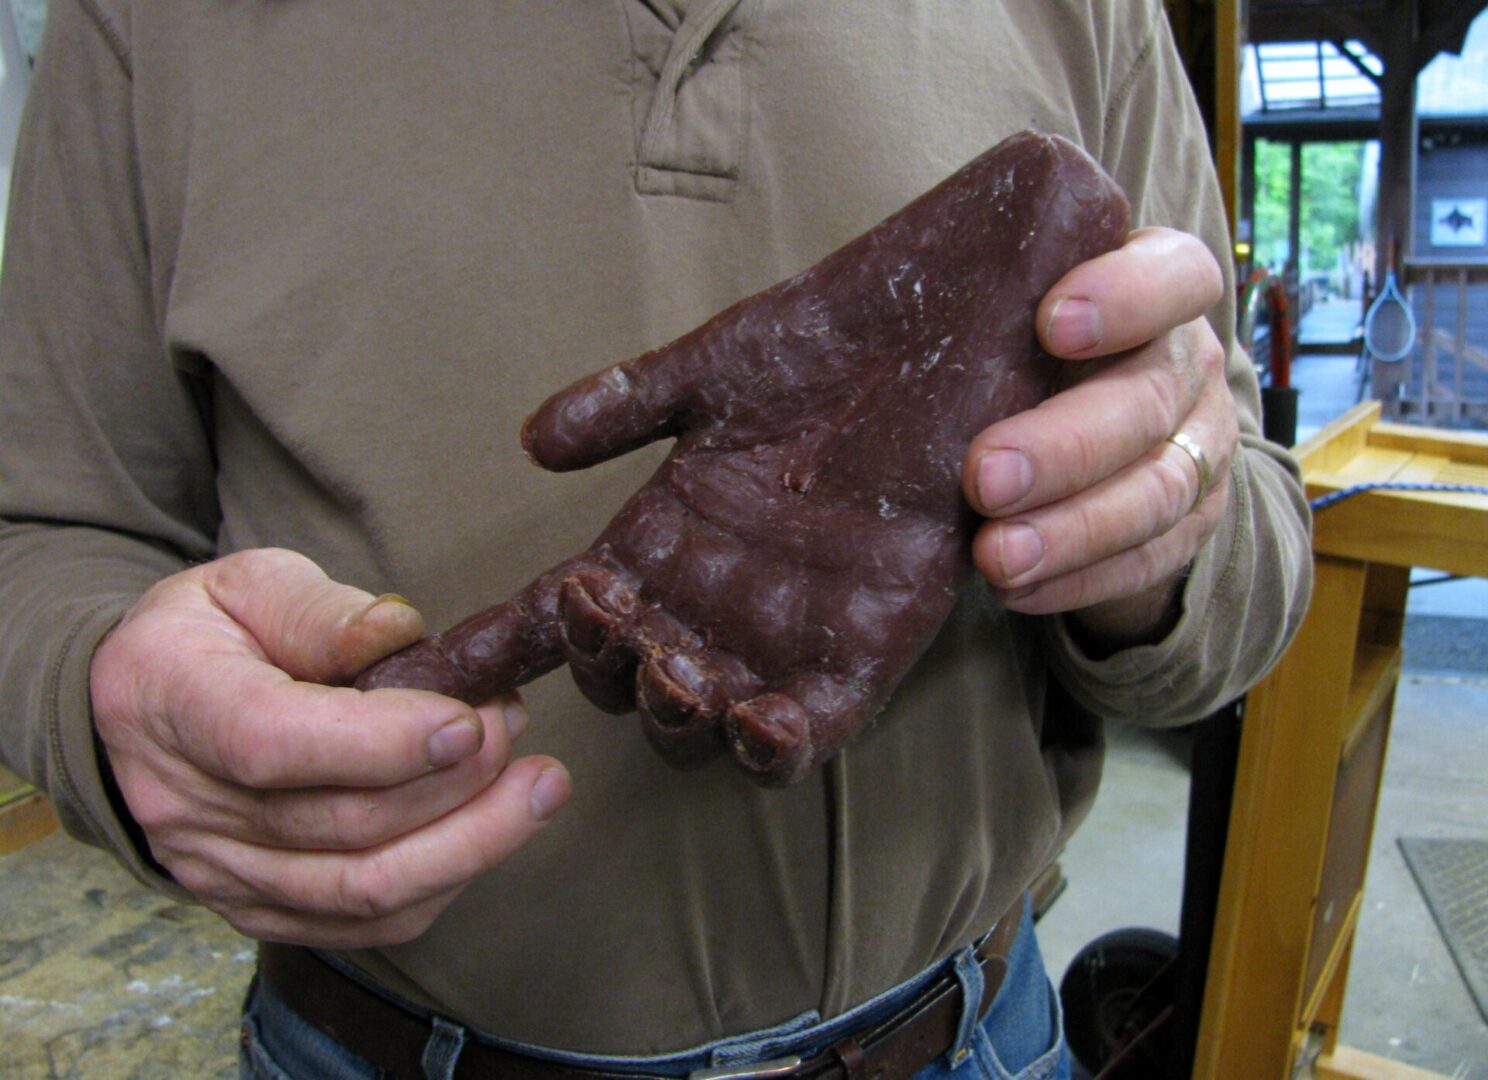
The resulting wax model will become the bronze sculpture because the wax is ultimately melted away. This is the Lost Wax process.
In the final step, the wax model is removed from the Mother mold and retouched as needed. It is then encased in a heat-resistant mold for the bronze pour. This final mold, which is broken away after the bronze cools, can be one of two types: an Investment Mold or a Ceramic Shell mold. The Investment process is the oldest method; the Ceramic Shell is a modern technique. Both methods allow for Lost Wax casting.

